
Nimivo Setup Guide


Important Note: See the Organizing Your Media For Nimivo guide to learn how your media is scanned and what is needed to accurately retrieve data from TVDB.
This guide will walk you through the initial setup of Nimivo Media Server.
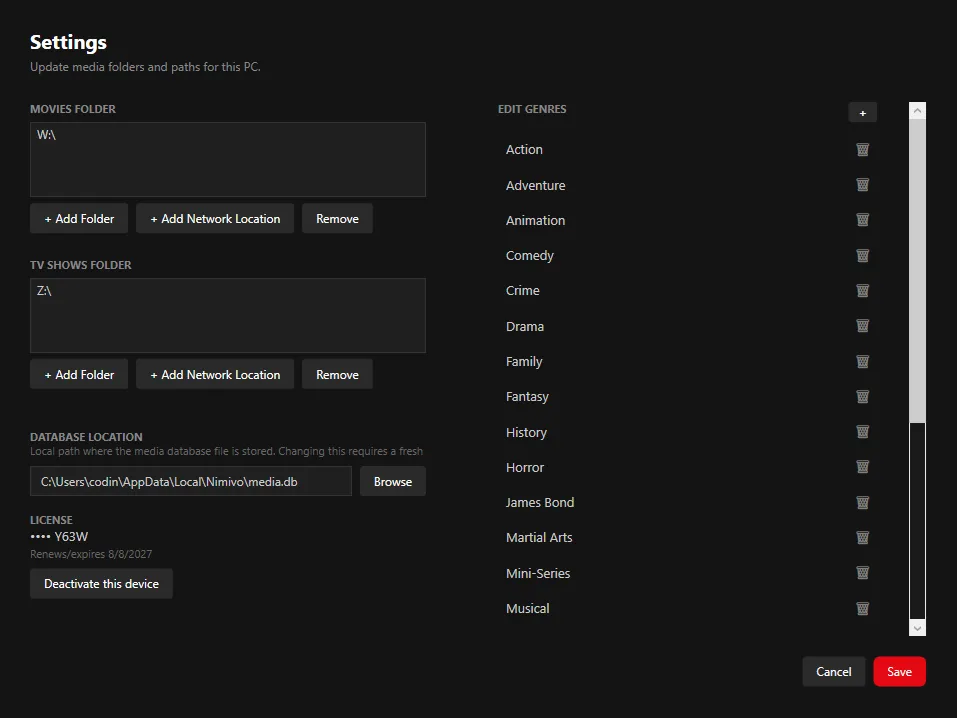
After installing Nimivo, the Setup window displays. Here is where you enter your license key, select the folders where your Movies and Series are stored, optionally change the database location, and optionally modify the overall list of Genres.
Movies and TV Shows Folders
First up is selecting the locations where your Movies and/or TV Shows are stored.
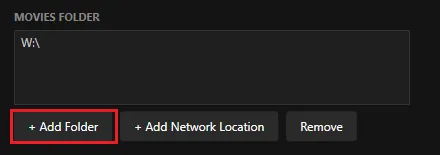
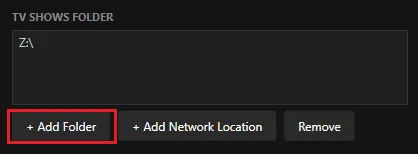
To add a mapped folder on your device, select Add Folder and select the mapped drive letter that maps to the folder where your movies are located.
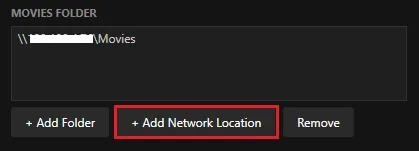
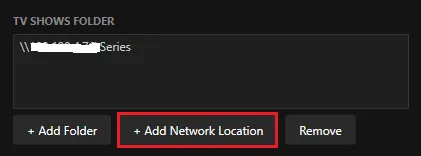
To add a UNC path located on your home network or NAS (Network Attached Storage) device, select Add Network Location.
A window will open for you to enter the network path and the login credentials for the server or NAS.
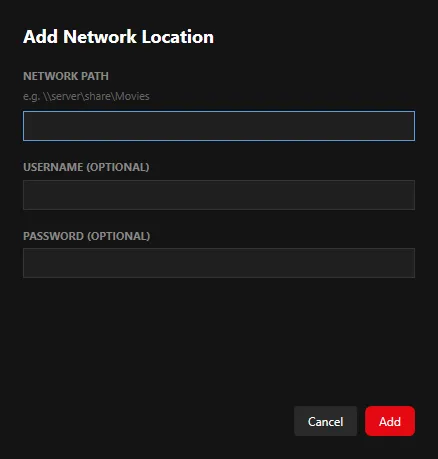
After entering the path and your credentials, click Add.
The same steps can be completed for the TV Shows Folder option if you also have a folder where your TV Shows are located. If you select Add Network Location, the same Add Network Location window will appear. Completing this is required because Movies and TV Shows are accessed separately.
Database Location
Next is the location where the media database is stored. This database contains the retrieved metadata, such as data about the movie or TV show (title, year, overview, rating, characters, etc.) and images for movies and TV shows (including season and episode images).

By default, this location is the local AppData folder for the user. This location can be changed to any location you prefer, such as a common folder if multiple different users will use the app on the same device, or another location on your local network or NAS.
Warning about storing the database on a network share: if the license has been activated on multiple devices on the same network (e.g., your HTPC, a tablet) and both devices perform a scan at the same time, there is a risk of locking/collision errors on the network device. Use with caution.
License Activation
Next is the license activation. You will receive an email with a license key and a link to download the app. Here is where you enter that license key.
Genres
On the right side of the Setup window is a list of all genres that have been retrieved after scanning your media. On initial setup, this area will be blank until after the first media scan completes.
See the Editing Genres guide for how and why you might want to edit the Genre list.